Sometimes inspiration strikes in the most unexpected ways.
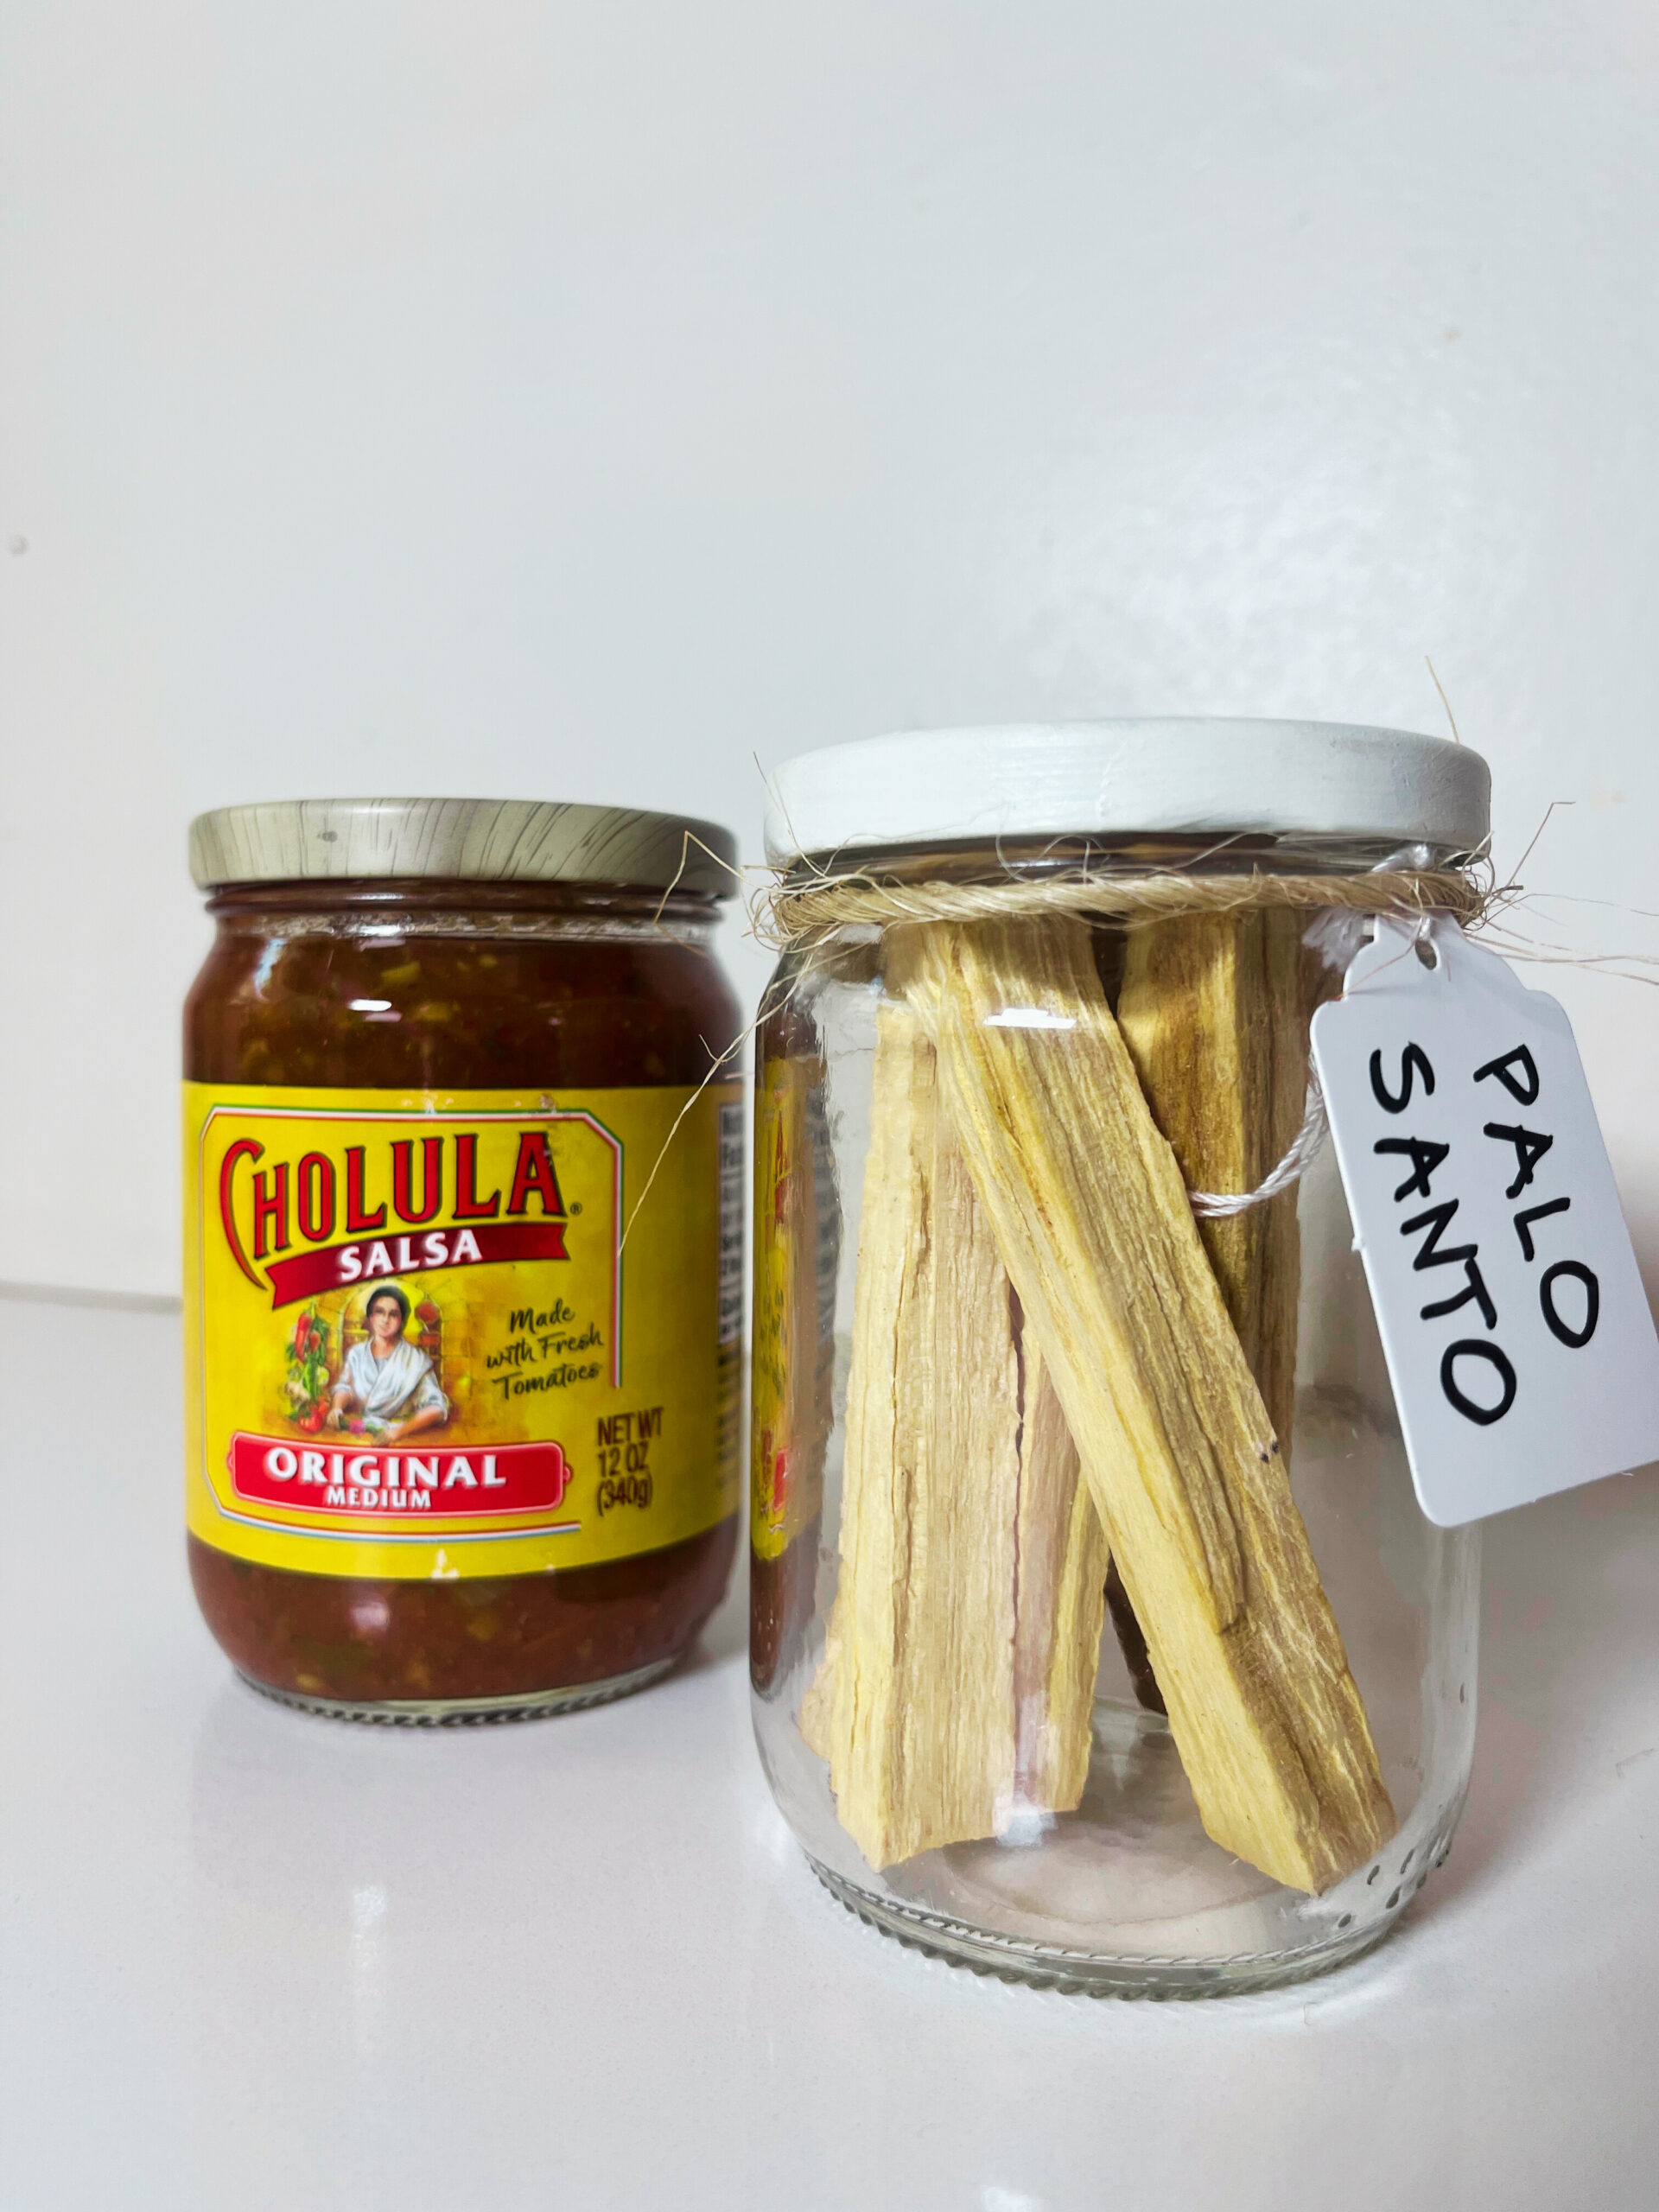
While prepping a dish for a family 4th of July potluck, I grabbed a jar of salsa that ended up inspiring more than just my dinner. That simple glass jar sparked a fun little upcycled project—turning it into a beautiful palo santo holder.
This post is a little mix of both worlds: a recipe that inspired my upcycle, and a super easy chicken enchilada recipe I like to call Lazy Girl Enchiladas. Let’s dive in!
What You’ll Need
- 5 chicken thighs (bone-in, skin-on)
- 1 tbsp chicken bouillon
- 1 jar Cholula salsa (or your favorite jarred salsa)
- Olive oil
- 1 large onion (sliced)
- Salt & pepper to taste
- Monterey Jack cheese (block)
- Sharp cheddar cheese (block)
- King-size corn tortillas
- Enchilada sauce (any brand you like)
- Optional: Chicken broth (saved from boiling the chicken)
Step 1: Boil Your Chicken (Bonus if You Do This the Night Before)
Boil your chicken thighs in a pot of water with about a tablespoon of chicken bouillon for extra flavor. This step can take some time, so here’s a pro tip: do it the night before to save yourself a solid 30 minutes the next day.
Once cooked and cooled, shred the chicken from the bone and set it aside. Don’t toss the broth—you might need it later!
Bonus Tip: That homemade broth is liquid gold! You can freeze it in an ice cube tray or small jars and use it later for:
- A quick base for vegetable soup
- Cooking rice or quinoa with extra flavor
- Adding to sautéed veggies or sauces
Step 2: Build the Flavor
Heat a large pan (I use a cast iron skillet) and add a bit of olive oil. Once hot, throw in a few large slices of onion for flavor, then add the shredded chicken.
Season with salt and pepper and cook until the chicken develops a nice brown color.
Next, pour in the entire jar of salsa and let it simmer until most of the liquid has evaporated. If things are sticking to the pan, splash in about ¼ cup of the chicken broth you saved and deglaze the pan. Let it simmer a bit longer, then remove from heat and set aside.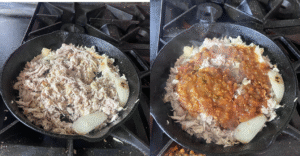
Step 3: Shred the Cheese (Yes, Fresh Matters!)
Okay, I know this is the Lazy Girl recipe, but do not use pre-shredded cheese. Trust me on this one—it’s worth the extra 5 minutes.
Use a mix of Monterey Jack and sharp cheddar (yes, the “sharp” part matters). Grate a good amount of each—you’ll be using it inside the enchiladas and on top.
Step 4: Fry the Tortillas
In a hot pan with olive oil, lightly fry each tortilla on both sides—about 30 seconds per side. Then transfer to a tray lined with paper towels to absorb the excess oil.
Once all tortillas are fried, gently blot off remaining oil. They’re ready to dip in sauce.
Step 5: Dip + Roll
Dip each tortilla in enchilada sauce—just enough to coat. Don’t drench them or they’ll fall apart.
Add a scoop of your chicken + salsa filling and a sprinkle of your cheese blend, then roll and place seam-side down into a glass baking dish. Repeat until your tray is full.
Top with a bit more enchilada sauce and lots of cheese. (If you’re like me, the more cheese, the better.) 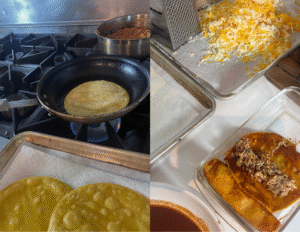
Step 6: Bake or Store for Later
If you’re making these ahead of time (which I love doing), just cover and refrigerate.
When ready to serve, pop the tray into a 350°F oven for 10–15 minutes or until everything’s hot and melty. Serve with your favorite Mexican side dishes—rice, beans, or a simple salad.
This recipe makes about a dozen enchiladas—perfect for a hungry group or potluck. 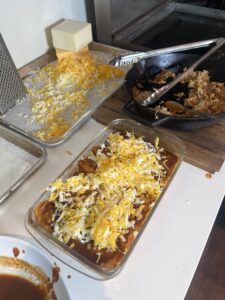
How I Upcycled the Salsa Jar
After using the salsa for my enchiladas, I gave the jar a second life with a super simple upcycle.
I washed the jar, removed the label, and scrubbed off the sticker residue using a pot scrubber. To get rid of the leftover glue, I wiped the outside with hand sanitizer (I had plenty on hand, but rubbing alcohol would work just as well).
For the lid, I added a few coats of white chalk paint and sealed it with a clear topcoat. That gave it a clean, matte finish that instantly made the jar feel more intentional.
You could easily use it to hold Q-tips, cinnamon sticks, or bath salts—but I had a bundle of palo santo sitting in a drawer and thought it would make a cute (and practical) display. Add a simple gift tag and it’s instantly gift-worthy.
Next time you’re about to toss a pickle or pasta sauce jar into the recycling bin, think twice—you might be holding your next favorite little container. We’re so quick to buy new jars or canisters when we see them at the store, but with just a few minutes of love, the ones we already have can serve us just as well (and with a lot more charm).
Lorem ipsum dolor sit amet, consectetur adipiscing elit. Ut elit tellus, luctus nec ullamcorper mattis, pulvinar dapibus leo.